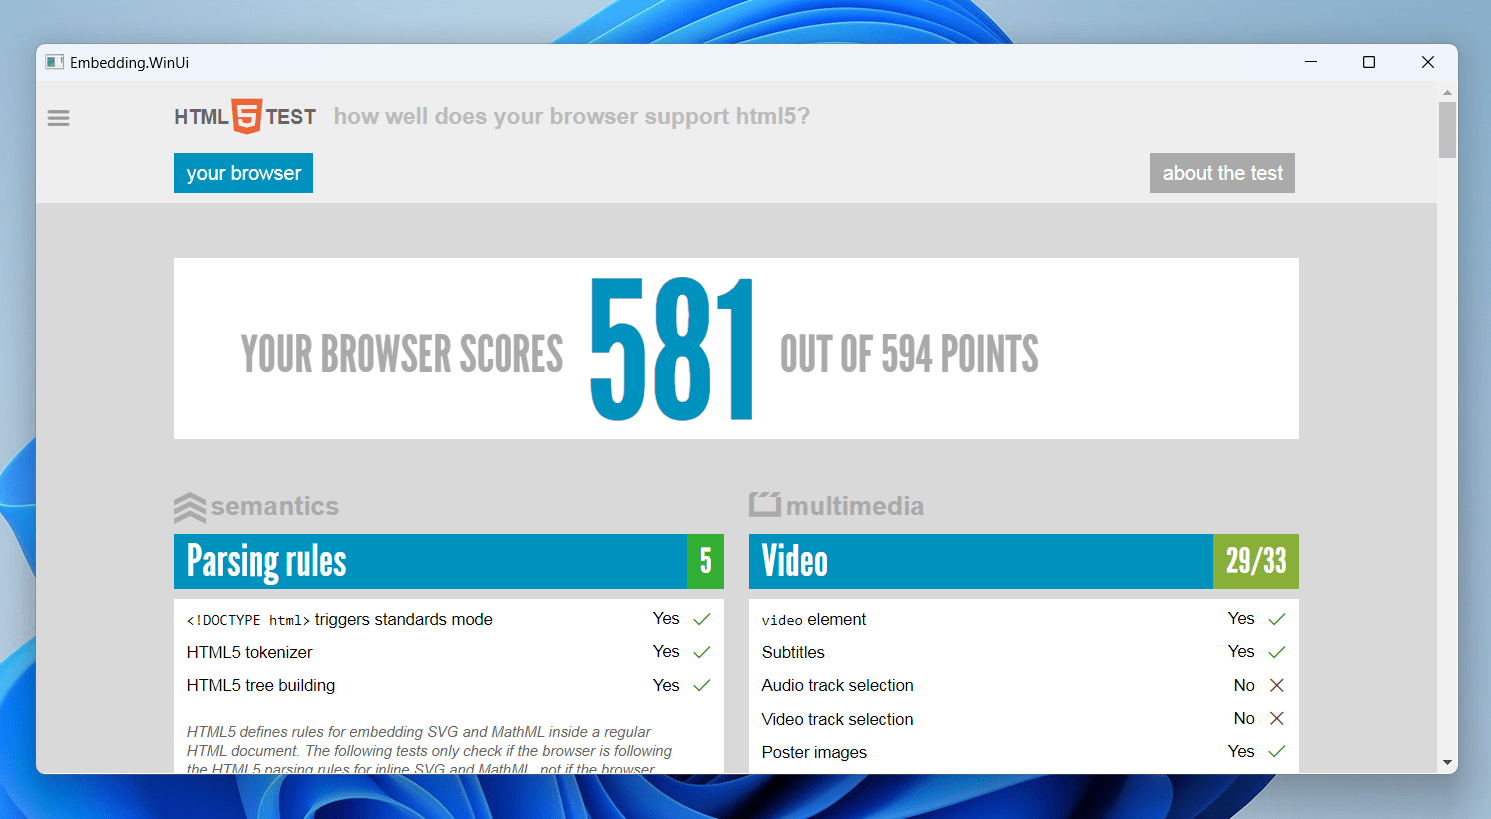
Quick start for WinUI 3
This guide shows how to start working with DotNetBrowser and embed it in a simple WinUI 3 application.
Before you begin make sure that your system meets software and hardware requirements.
1. Install DotNetBrowser templates
Open the Command Line prompt, and install DotNetBrowser templates if not installed yet:
dotnet new install DotNetBrowser.Templates
After installation, the template projects will be available in both .NET CLI and Visual Studio.
2. Get trial license
To get a free 30-day trial license, fill in the web form and click the Get my free trial button. You will receive an email with the license key.
3. Create a WinUI 3 application with DotNetBrowser
Create a new application:
dotnet new dotnetbrowser.winui.app -o Example.WinUi -li <your_license_key>
The project will be created in the folder Example.WinUi.
By default, this project will target net8.0. Use -f option to specify net9.0, net7.0 or net6.0 instead.
4. Run the application
To launch application, use:
dotnet run --project Example.WinUi
